Interior House Painting Toronto That Holds Up
A fresh coat of paint can make a Toronto home feel completely renewed, but the finish is only as good as the work beneath it. For homeowners planning interior house painting Toronto projects, the real decision is not simply choosing a color. It is deciding how painting fits into the condition of the walls, the timing of a renovation, the home’s daily use, and the level of finish you expect to live with for years.
In a busy family home, a century property with uneven plaster, or a condo with tight access rules, painting requires more than a steady hand. It requires careful preparation, the right products, and a managed process that protects the rest of the home.
Why Interior House Painting in Toronto Needs a Plan
Toronto-area homes come with a wide range of conditions. Older homes may have patched plaster, previous water staining, cracks at trim lines, and layers of old paint that need to be properly assessed. Newer homes can have builder-grade finishes, nail pops, and drywall joints that become much more visible when a smooth modern paint color is applied.
Painting before the underlying issues are addressed can create expensive rework. If a bathroom has moisture damage, a basement wall has signs of water intrusion, or a main-floor remodel will involve electrical and plumbing changes, those conditions should be resolved first. A quality paint job is a finish layer, not a solution for movement, moisture, or poor wall preparation.
The sequence matters during a larger renovation. Painting is generally completed after demolition, framing, drywall repairs, major electrical work, flooring installation decisions, and trim work are substantially complete. There are exceptions. Ceilings may be painted before certain floor finishes go in, for example, but the goal remains the same: minimize damage, touch-ups, and unnecessary disruption.
The Preparation Behind a Clean, Durable Finish
The most noticeable difference between a quick repaint and professional interior house painting is preparation. A beautiful color cannot hide dents, failed caulking, rough patches, or poorly sanded repairs. In fact, darker colors and finishes with more sheen often make those flaws easier to see.
A thorough process starts with evaluating the room. Walls and ceilings are checked for cracks, loose paint, stains, water damage, and surface inconsistencies. Holes and damaged drywall are repaired, seams are addressed, and surfaces are sanded as needed. Trim, doors, and baseboards require their own preparation because chips, gaps, and old paint buildup can affect how crisp the finished room looks.
Stains need special attention. Water marks, smoke residue, grease near kitchens, and marker stains can bleed through a new topcoat if they are not properly sealed. Using the correct primer is not an optional extra in these situations. It helps create an even surface and prevents the problem from returning through the new paint.
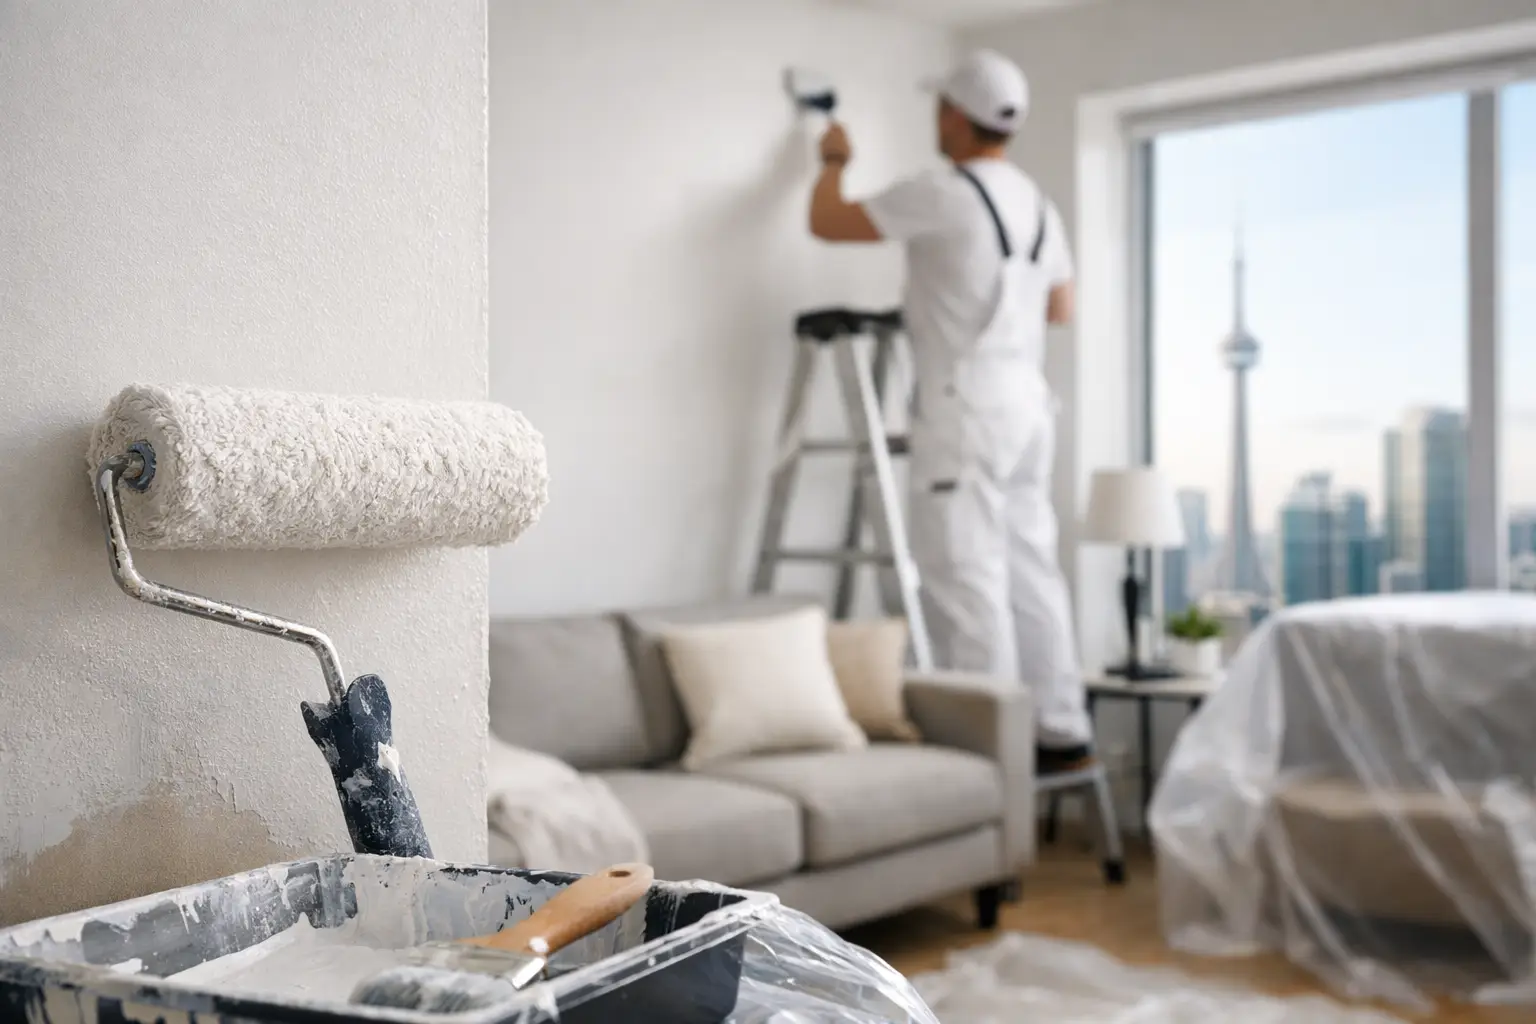
Protection is equally important. Floors, cabinetry, countertops, fixtures, and adjacent finished areas should be covered and masked with care. In an occupied home, a well-organized work area also makes a real difference to day-to-day comfort. Homeowners should know which rooms are being worked on, when access may be limited, and how the site will be cleaned at the end of each day.
Drywall Repairs Should Not Be Rushed
Fresh drywall compound must dry fully before sanding and painting. Humidity, room temperature, and the depth of a repair can all affect that schedule. Rushing this stage can lead to visible flashing, uneven texture, or joints that stand out under natural light.
This is especially relevant in basements and rooms with limited airflow. A reliable painting schedule accounts for proper drying time rather than promising a finish date that leaves no room for the materials to perform as intended.
Choosing Colors and Sheens for Real Life
Color selection is personal, but it should also be practical. Toronto homes often experience significant changes in daylight across the year. A color that feels warm and balanced in a bright south-facing room can read much cooler in a shaded north-facing space. Samples should be viewed on more than one wall and at different times of day before a final decision is made.
For main living areas, soft neutrals, grounded warm whites, and muted earth tones remain versatile choices because they work with changing furnishings and tend to appeal to future buyers. That does not mean every room needs to be neutral. A deep dining room, a calm blue bedroom, or a confident accent wall can add personality when it supports the overall design direction.
Sheen deserves the same level of consideration. Flat or matte paint minimizes minor wall imperfections and gives ceilings a refined look, but it may be less washable in high-traffic spaces. Eggshell and satin finishes are popular for living spaces, hallways, and bedrooms because they offer a balance of durability and a soft appearance. Kitchens, bathrooms, mudrooms, and children’s spaces often benefit from more washable finishes, provided the walls are prepared carefully.
Higher sheen paint reflects more light, which can make a room feel brighter. The trade-off is that it also highlights every surface imperfection. There is no single best finish for every home. The right choice depends on the room’s use, the wall condition, and the desired look.
Rooms That Need More Than Standard Wall Paint
Some areas of the home demand a more specific painting approach. Bathrooms need moisture-resistant products and proper ventilation. If exhaust fans are undersized, ducted incorrectly, or rarely used, paint failures can return no matter how high-quality the product is. Addressing ventilation first protects both the finish and the room itself.
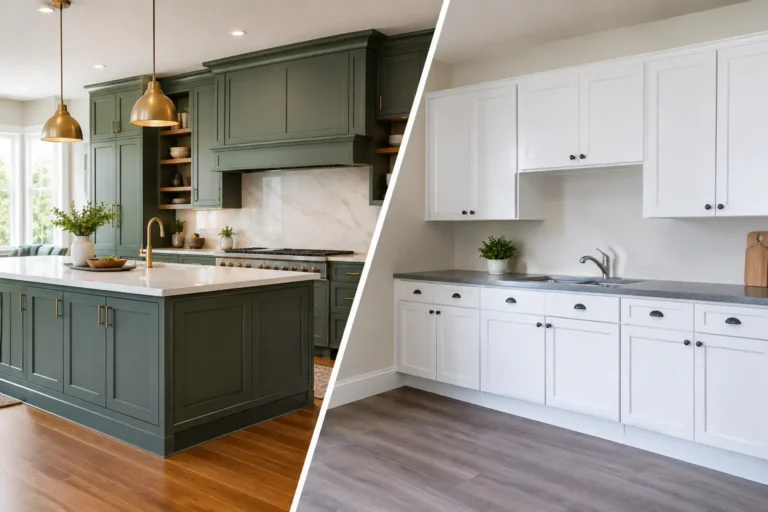
Kitchens are exposed to cooking residue, frequent cleaning, and traffic around cabinets and islands. Durable, washable paint and careful cutting-in around millwork create a cleaner result. When cabinets, countertops, backsplash tile, or lighting are also being updated, paint colors should be selected alongside those materials rather than in isolation.
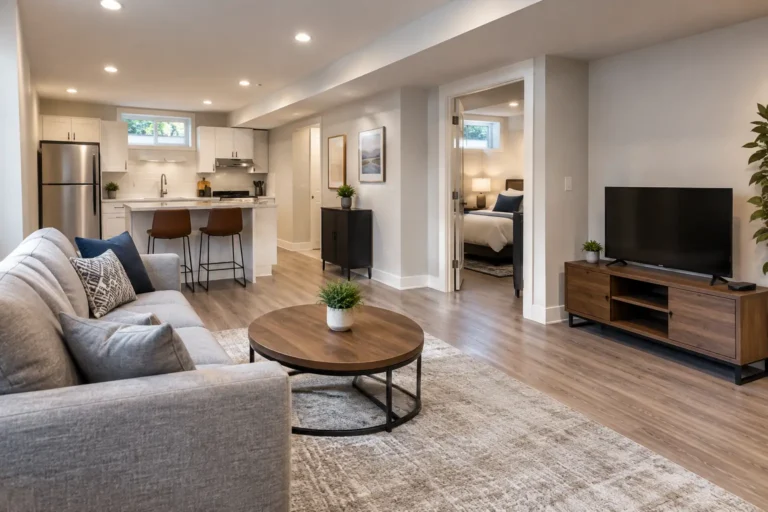
Basements require an honest assessment of the space before painting begins. Surface staining, musty odors, or peeling paint may point to moisture concerns that need investigation. For a finished basement, painting is most successful after insulation, drywall, electrical work, trim, and any required code-related upgrades are complete.
Condo owners have another layer to consider. Elevator bookings, loading procedures, work-hour restrictions, parking, and building protection requirements can affect the schedule. A contractor experienced with occupied urban properties can coordinate these details so a simple refresh does not become a frustrating building-management issue.
When Painting Belongs in a Larger Renovation
Interior paint has the strongest impact when it is coordinated with the whole room. Refinished stairs, new flooring, updated trim, improved lighting, and reconfigured walls all change how color reads and how a space feels. Painting at the end of a larger project ties these elements together and gives the home a finished, intentional appearance.
It also makes sense to combine painting with work that would otherwise create dust or wall damage. Opening walls for plumbing, adding pot lights, moving doors, repairing ceilings, or updating baseboards all require patching and refinishing. Managing those tasks under one renovation plan reduces handoffs between trades and helps keep the scope, budget, and schedule clear.
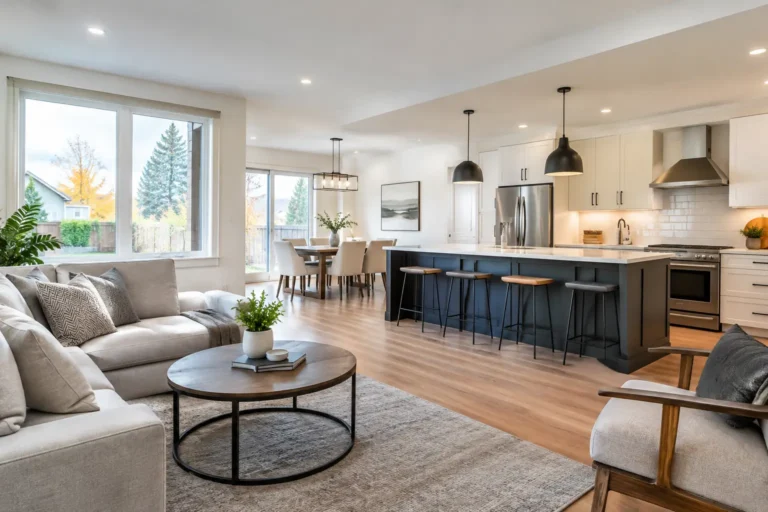
For homeowners investing in a kitchen preparation project, bathroom renovation, basement finish, or main-floor transformation, a single accountable team can prevent the common problem of completed work being marked up by the next contractor. The finish work should be planned from the beginning, not treated as an afterthought when the budget and timeline are already under pressure.
What to Expect From a Professional Painting Scope
A clear quote should explain what is included before work begins. That means identifying the rooms and surfaces, expected repairs, number of coats, paint products or product allowances, trim and ceiling work, protection measures, and cleanup expectations. If extensive repairs are discovered after surfaces are opened or old finishes are removed, the homeowner should receive a clear explanation before additional work proceeds.
Communication matters just as much as workmanship. You should know who is responsible for the project, what the daily plan is, how changes are handled, and when the final walkthrough will occur. A close final inspection allows small touch-ups to be addressed while the work area is still protected and the project team is on site.
Finishing Touches Design & Renovations approaches painting as part of the complete interior transformation, with the same attention to scope control, coordination, and craftsmanship used across larger renovation projects. That approach is particularly valuable when paint is the final detail that brings a renovated space together.
A well-painted room should not just look good on the day the drop cloths come up. It should feel considered, clean, and durable in the way your household actually lives. Start with sound surfaces, make color decisions in the room itself, and give the preparation work the time it deserves. That is how a paint finish becomes a lasting finishing touch.