How to Paint Trim for a Crisp, Durable Finish
A freshly painted wall can still look unfinished when the baseboards are scuffed, the door casing is yellowed, or brush marks catch the light along the window trim. Trim is a small surface area with an outsized effect on the room. Knowing how to paint trim properly is what creates those sharp, clean lines that make a renovation feel complete.
The job is not difficult because trim is complicated. It is difficult because trim is highly visible, touched often, and full of edges where rushed preparation shows. The best results come from a methodical process: clean, repair, sand, prime where needed, then apply thin, controlled coats with the right paint and tools.
Start With the Right Paint and Sheen
For most interior trim, doors, and baseboards, use a durable acrylic enamel formulated for trim and cabinets. Water-based enamel has become the preferred choice in many homes because it dries faster, has lower odor, resists yellowing, and is easier to clean up than traditional oil-based paint. Quality products level well, helping brush strokes settle into a smoother finish.
Sheen matters as much as color. Satin offers a soft, practical finish for trim in lower-traffic spaces. Semi-gloss is the most common choice for baseboards, casings, doors, and window frames because it stands up well to cleaning and creates a subtle contrast against flat or eggshell walls. High-gloss can look striking in a formal or contemporary space, but it reveals every dent, uneven joint, and sanding mark.
White is still the standard choice, but not every white works with every wall color. A warm white can look muddy next to a cool gray wall, while a bright white may feel harsh beside creamy finishes. If your renovation includes new flooring, cabinetry, or wall color, test the trim color in the actual room before committing.
How to Paint Trim: Prepare Before You Open the Can
Preparation determines whether the finish lasts. This is especially true in older Toronto-area homes, where layers of previous paint, settling cracks, and worn baseboards are common. Painting over dirt, glossy surfaces, or failed caulk may look acceptable for a week, but the problems will show through soon after.
Begin by moving furniture away from the work area and protecting floors with a drop cloth. Vacuum baseboards and wipe all trim with a mild degreasing cleaner. Kitchen trim may carry cooking residue, while bathroom trim can collect hairspray, soap film, and moisture. Let the surface dry fully.
Inspect the trim closely under good lighting. Fill nail holes, small dents, and open miters with a paintable wood filler. Once it dries, sand it flush. Use paintable caulk for narrow gaps between trim and walls or where casing meets a door jamb. Caulk should create a clean transition, not cover a wide void or a moving joint.
If the existing finish is glossy, lightly sand it with 120- to 180-grit sandpaper. You are not trying to remove every layer of paint. The goal is to dull the sheen and give the new coating something to grip. Vacuum the dust, then wipe the surface with a clean, damp microfiber cloth.
For homes built before 1978, take precautions before disturbing old paint. Lead-based paint may be present beneath newer layers. Testing and proper containment are the responsible first steps, particularly when sanding, scraping, or replacing original trim.
Prime Only Where the Surface Calls for It
Primer is not always required for previously painted trim in good condition, but it is essential in several situations. Prime bare wood, patched areas, stained surfaces, repaired MDF, and trim that has been heavily sanded. Stain-blocking primer is particularly useful around knots, water marks, smoke residue, or tannin bleed-through.
If you are changing from a dark color to white, a full primer coat can improve coverage and create a more uniform topcoat. It may add a day to the project, but it can save time and paint on the second coat.
Allow primer to dry according to the product directions, then sand it lightly with fine-grit paper. This quick step removes raised grain and tiny imperfections, leaving a noticeably smoother finish. Remove all sanding dust before painting.
Use Tools That Match the Detail Work
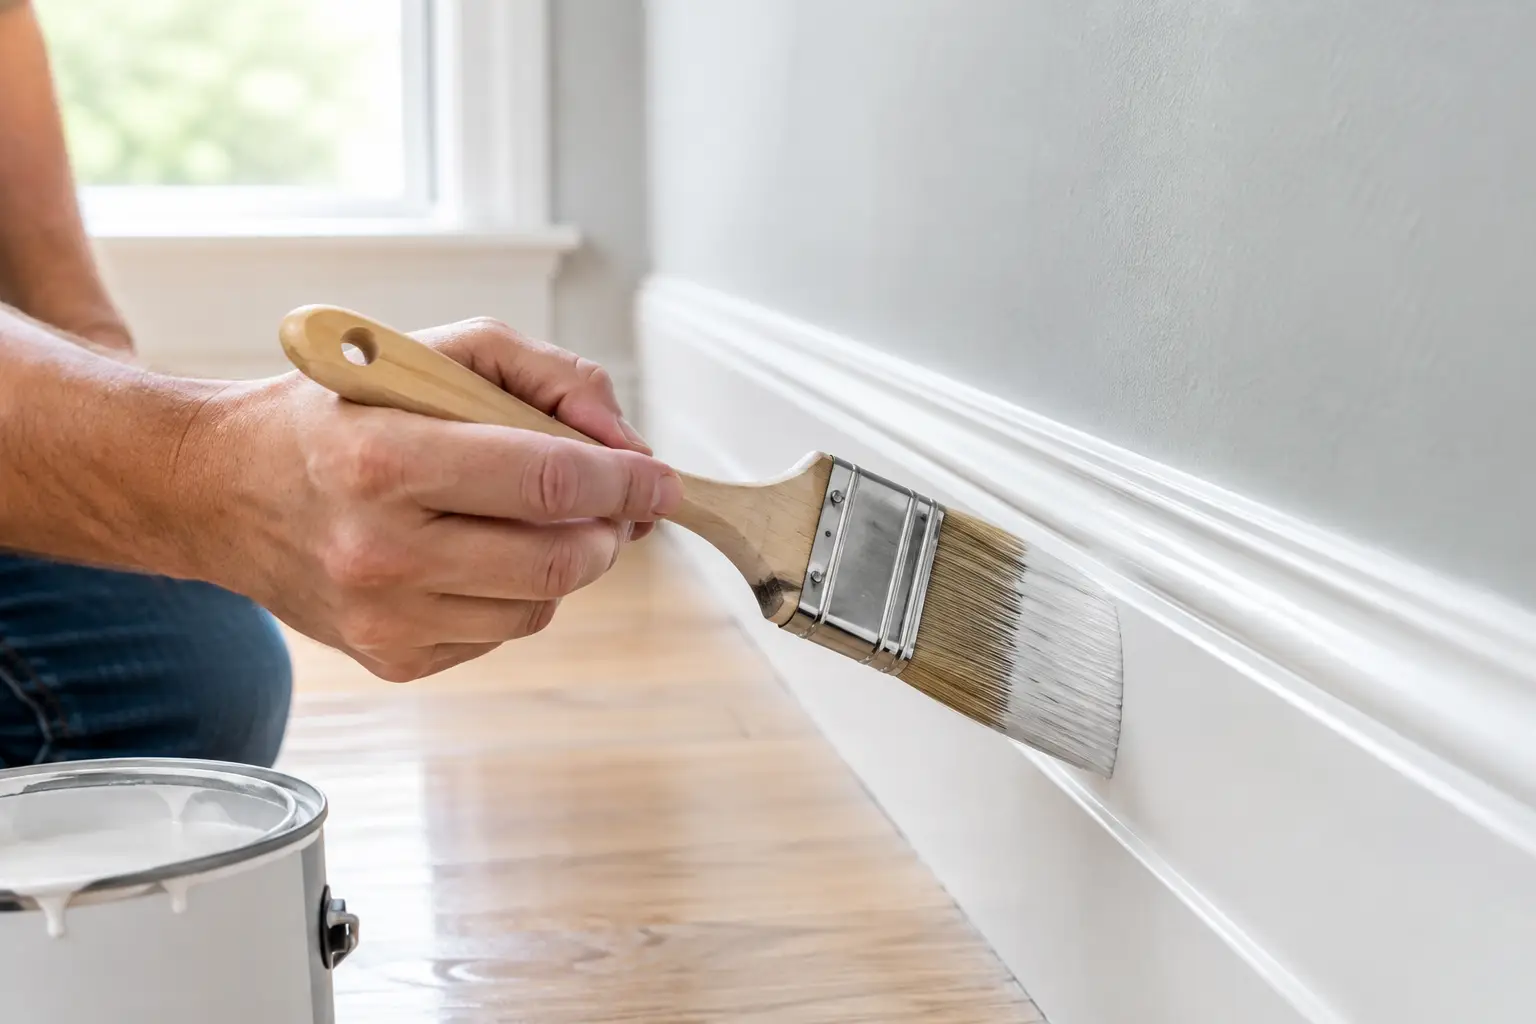
A high-quality 2- to 2.5-inch angled sash brush is the main tool for most trim. Synthetic bristles work well with water-based enamel and give you control around corners, profiles, and wall edges. Avoid inexpensive brushes that shed bristles or leave deep, uneven marks.
For wide, flat baseboards or broad door casings, follow the brush with a small microfiber or high-density foam roller. The roller spreads paint evenly, while the brush handles the edges and detailed profiles. Work in short sections so you can maintain a wet edge and avoid lap marks.
Painter’s tape can help protect walls, floors, and hardware, but it is not a substitute for careful cutting-in. Tape is useful along delicate wallpaper, textured walls, or newly installed flooring. Press it down firmly, paint lightly at the edge, and remove it while the final coat is still slightly wet for the cleanest line.
Apply Thin Coats for a Smooth Finish
Start at the top of the room and work down: crown molding first, then window and door casings, followed by baseboards. This order keeps drips from landing on freshly finished lower trim.
Load the brush about one-third of the way into the paint, then tap off excess paint against the inside of the can. Do not scrape both sides of the brush dry. Apply paint with controlled strokes, working it into grooves and corners first. Then make a final light pass in one direction to lay off the paint and reduce visible brush marks.
Two thin coats are almost always better than one heavy coat. Thick paint is more likely to sag on vertical surfaces, pool in trim profiles, and remain soft longer. Let the first coat dry fully before recoating. Dry-to-touch is not necessarily ready for another coat, especially in humid conditions or rooms with limited airflow.
Between coats, inspect the trim from several angles. A quick pass with 220-grit sandpaper can remove a drip, dust nib, or rough patch before it becomes sealed beneath the final coat. Wipe away dust carefully, then apply the second coat with the same controlled technique.
Do Not Rush Reassembly or Cleaning
Fresh trim may feel dry within hours, but paint needs time to cure. Avoid reinstalling outlet covers, closing newly painted doors tightly, or placing furniture against baseboards too soon. Check the paint label for curing guidance, and give high-contact surfaces extra time whenever possible.
Clean brushes promptly with soap and water if you used water-based enamel. Store leftover paint in a tightly sealed can, labeled with the room, trim color, sheen, and date. That small habit makes future touch-ups far less frustrating.
When Professional Finishing Is Worth It
A homeowner can achieve excellent results on straightforward, well-maintained trim. But professional help is often worthwhile when the project involves extensive trim replacement, staircase components, detailed millwork, century-home repairs, spray finishing, or a larger renovation with flooring, wall changes, and new doors happening at once.
The trade-off is simple: DIY painting can reduce labor costs, but the time spent protecting finishes, correcting old damage, and maintaining clean lines adds up quickly. On a whole-home project, one accountable renovation team can coordinate the order of work so trim is painted at the right stage, protected from other trades, and finished to match the rest of the space.
At Finishing Touches Design & Renovations, painting is treated as the final layer of craftsmanship, not an afterthought. When trim is properly prepared and carefully finished, it frames every room with the clean, durable detail a well-renovated home deserves.