Best Paint for Humid Bathrooms That Holds Up
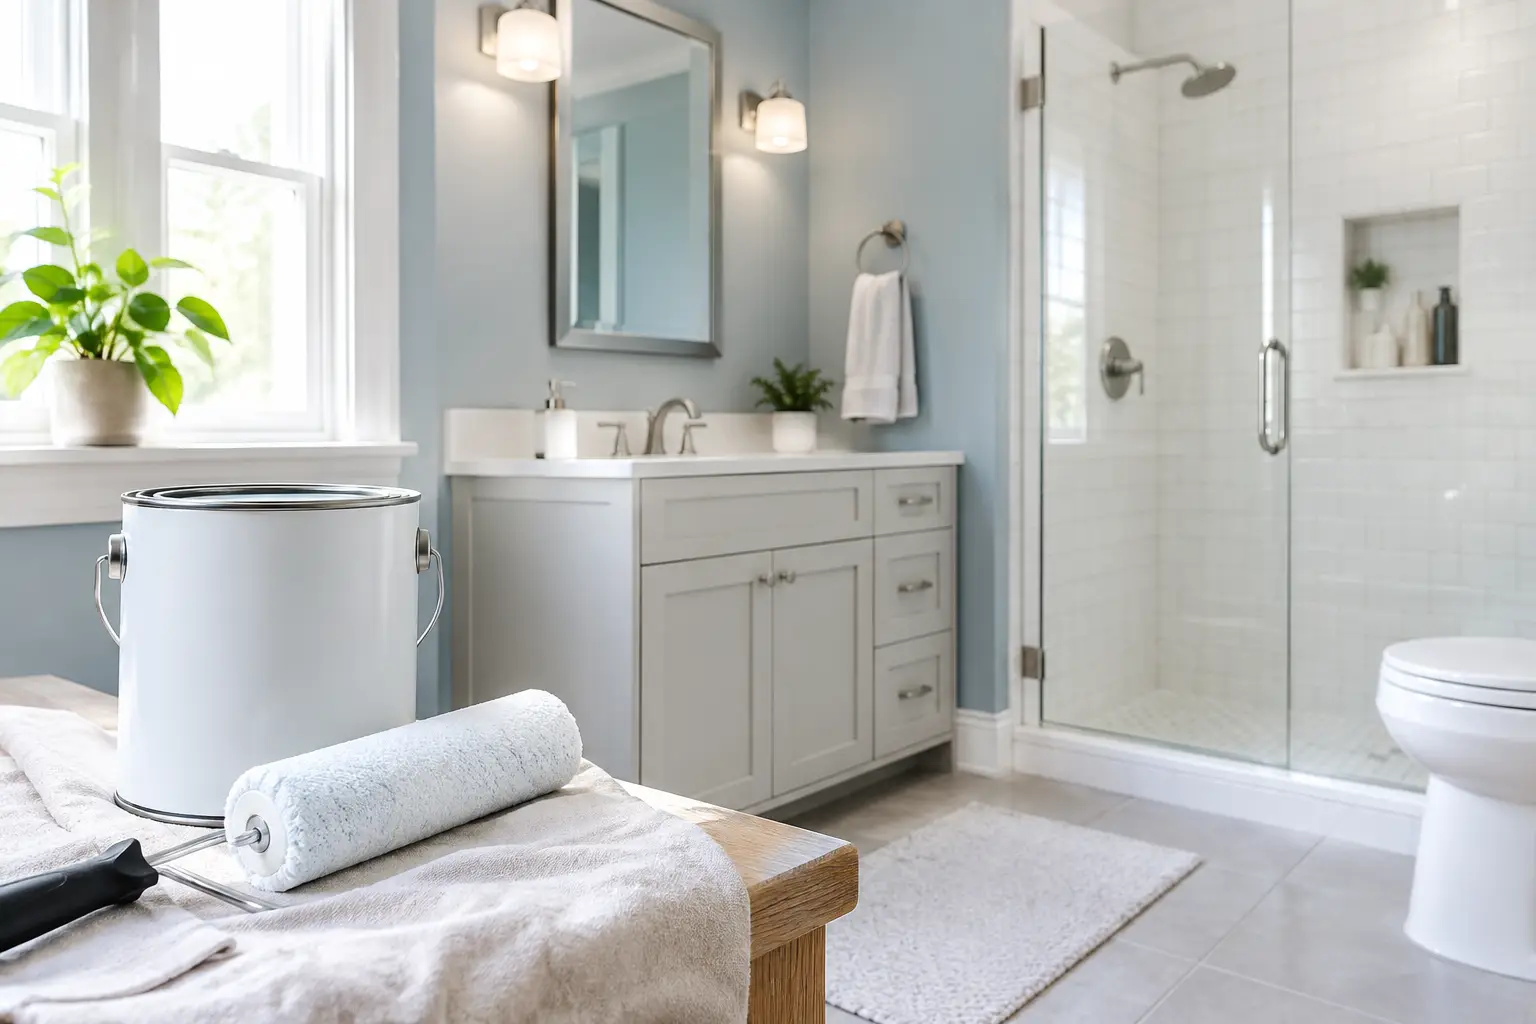
A bathroom can look freshly renovated on day one and tired six months later if the walls were painted with the wrong product or over an unprepared surface. The best paint for humid bathrooms is not simply the shiniest can on the shelf. It is a quality coating system that resists repeated moisture, cleans easily, and is paired with proper surface preparation and ventilation.
For homeowners planning a bathroom update in Toronto and across the GTA, paint is a relatively small finish decision with an outsized effect on the room’s long-term appearance. Steam from daily showers, limited airflow in older homes, and condensation around exterior walls can all test a paint finish. Choosing well helps protect the clean, finished look you invested in.
What Makes Bathroom Paint Different?
Bathrooms put paint through conditions that most bedrooms and living rooms never see. Warm, damp air settles on walls and ceilings after a shower. If that moisture cannot be removed quickly, it can soften lower-quality paint films, leave streaks, encourage mildew growth, and eventually cause peeling.
A good bathroom paint forms a durable, washable surface. Most professionals look for a premium 100% acrylic latex paint with moisture and mildew resistance. Acrylic binders generally hold up better than inexpensive vinyl-heavy paints when the surface is exposed to regular humidity and cleaning.
The label matters, but do not rely on the word bathroom alone. Look for a product intended for kitchens, baths, or high-humidity interior areas, with a scrub-resistant finish. Some premium wall paints are engineered to perform well in damp spaces without being specifically marketed as bathroom paint. The right choice depends on the room’s ventilation, the wall condition, and the sheen you want.
Best Paint for Humid Bathrooms: Start With the Finish
Paint sheen affects both appearance and performance. A higher sheen creates a tighter, more washable surface, but it also reflects more light and can reveal drywall imperfections. That trade-off is especially relevant in older GTA homes, where walls and ceilings may have small patches, texture changes, or uneven surfaces from prior repairs.
Satin is the practical choice for most walls
Satin is often the best all-around finish for bathroom walls. It offers enough sheen to resist moisture and stand up to routine cleaning, yet it has a softer appearance than a traditional glossy finish. In a well-ventilated main bathroom or powder room, a premium satin acrylic paint is usually a dependable choice.
Satin works particularly well when the bathroom has good lighting, modern tile, and walls that are in reasonably good condition. It complements a polished renovation without making every minor surface flaw visible.
Semi-gloss offers more moisture resistance
Semi-gloss is a strong choice for bathrooms with frequent showers, limited ventilation, or very active family use. It wipes clean easily and provides excellent resistance to splashes and humidity. It is also a practical finish for trim, doors, window casings, and baseboards, where hands, water, and cleaning products create extra wear.
The compromise is appearance. Semi-gloss can highlight roller marks, patched drywall, and uneven texture. It needs careful preparation and application to look refined. In a compact bathroom with older walls, better surface repair may be more valuable than simply choosing a glossier paint.
Matte and flat finishes need careful consideration
Traditional flat paint is usually a poor fit for a shower bathroom because it absorbs moisture more readily and is harder to clean without burnishing the surface. Modern washable matte paints can work in a well-ventilated powder room or on a bathroom ceiling, but only if the product is specifically rated for high-moisture conditions.
For a full bathroom used every day, satin remains the safer middle ground. If your design calls for a low-sheen, contemporary look, invest in a premium moisture-resistant matte product and make ventilation part of the plan rather than an afterthought.
Do Not Paint Over a Moisture Problem
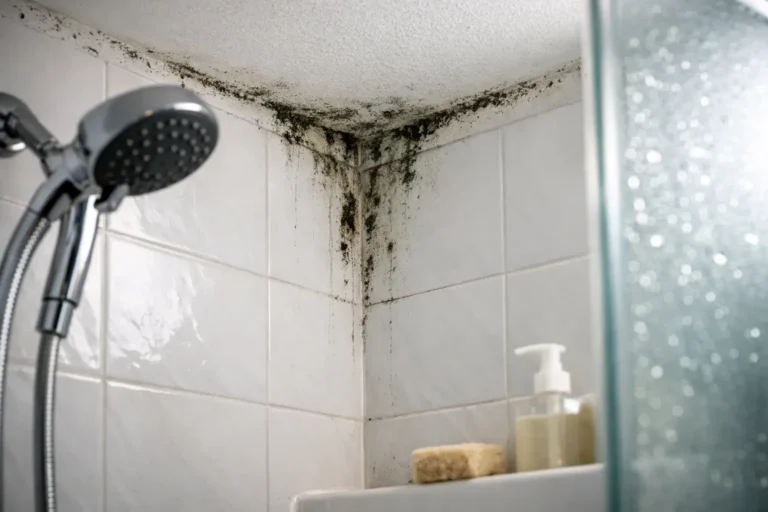
Paint cannot solve an active leak, failed grout, poor caulking, or an undersized exhaust fan. It can only protect a stable, dry surface. If paint is bubbling near a tub surround, peeling around a window, or developing dark spots on the ceiling, identify the moisture source before selecting a new color.
Common issues include shower steam that lingers for hours, a fan that vents into an attic instead of outdoors, gaps in tub caulking, and plumbing leaks hidden behind a vanity or wall. Condensation may also form on poorly insulated exterior walls during a Toronto winter. Covering these signs with a mildew-resistant paint might improve the room briefly, but the underlying problem will return.
A properly sized, ducted exhaust fan is one of the most valuable upgrades in a humid bathroom. It should vent outdoors, not into another enclosed space, and it should run long enough after bathing to remove humid air. A timer or humidity-sensing control takes the guesswork out of that habit. During a larger renovation, this is also the right time to assess insulation, waterproofing behind tile, and any plumbing concerns before finishes are installed.
Surface Preparation Determines How Long Paint Lasts
Even the best paint will fail on a contaminated or unstable surface. Bathrooms collect soap residue, hairspray, dust, and oils that interfere with adhesion. Start by cleaning walls and ceilings thoroughly with an appropriate household cleaner, then rinse if the product instructions require it. The surface must be fully dry before any repair, primer, or paint is applied.
Scrape loose or peeling paint back to a sound edge. Sand rough transitions so the repair disappears under the new finish. Small dents and cracks should be filled, sanded smooth, and dusted carefully. If mildew is present, it needs to be cleaned using a suitable mildew-removal method and allowed to dry completely. Do not paint over visible mold or a persistently damp surface.
Primer is not always necessary when repainting clean, sound walls with a similar color. It is essential, however, over fresh drywall repairs, water stains, bare plaster, patched areas, or significant color changes. Use a stain-blocking primer when discoloration could bleed through the topcoat. In older homes, a primer also helps create a consistent surface so the finish coat dries evenly.
Apply two full coats at the manufacturer’s recommended spread rate. Stretching paint too far, applying it to a cold or damp surface, or rushing the recoat time can weaken the result. Bathrooms should remain ventilated while the paint cures, but avoid creating a strong draft that dries the surface unevenly.
Ceiling, Trim, and Shower Areas Need Their Own Approach
Bathroom ceilings are often the first place homeowners notice mildew spotting because warm steam rises and lingers there. A quality moisture-resistant ceiling paint in a low-sheen or matte finish can look clean while reducing glare from overhead lighting. If the room has weak ventilation, choose a more durable washable finish instead of standard ceiling paint.
For trim and doors, satin or semi-gloss acrylic enamel is typically the practical choice. These surfaces receive more bumps, splashes, and cleaning than walls, and the added durability is worthwhile.
Paint should not be the primary finish inside a shower enclosure or anywhere that receives direct, repeated water exposure. Tile, properly installed shower panels, and waterproof assemblies are designed for that job. If a painted wall sits close to a tub or shower, protect joints with sound caulking and make sure the surrounding wall system is in good condition.
When a Professional Assessment Makes Sense
A straightforward repaint can be a manageable refresh. But if there is peeling paint, recurring mildew, a cracked ceiling, soft drywall, or signs of a hidden leak, the scope may be larger than paint. These symptoms can point to ventilation deficiencies, failing waterproofing, or plumbing issues that deserve attention before the final coat goes on.
For a complete bathroom renovation, Finishing Touches Design & Renovations coordinates the underlying work as well as the finish details. That means planning ventilation, wall repairs, tile transitions, plumbing changes, and paint selections as one accountable project rather than leaving homeowners to coordinate several trades. The result is a bathroom designed to look finished and perform reliably over time.
The right paint gives a humid bathroom its final layer of protection, but it performs best when the room beneath it is dry, well ventilated, and carefully prepared. Treat paint as part of the system, and your bathroom will stay easier to clean, more comfortable to use, and worthy of the renovation for years to come.